Every shop is set up a little bit differently, according to size, available space, and the preference of the shop manager. However, one thing that is consistent across most shops is the need for an easy way to organize the battery room.
The goal of having a battery recharge area is twofold:
First, you want to be able to recover as many batteries as possible and put them back into service.
Second, if the batteries are bad, you want to be able to get your money out of them through the warranty. Every time you buy a battery, you are paying for the warranty, so you want to be able to benefit from that.
In most shops, there are mounds of “junk” batteries sitting around, like in the picture below. Sometimes those batteries are actually junk—and sometimes they are simply discharged and could be put back into service.

Every one of those batteries represents potential money. Depending on the fleet, we’ve seen as much as a 50% recovery rate from those supposed junk batteries. All that needs to be done is put them through a simple process.
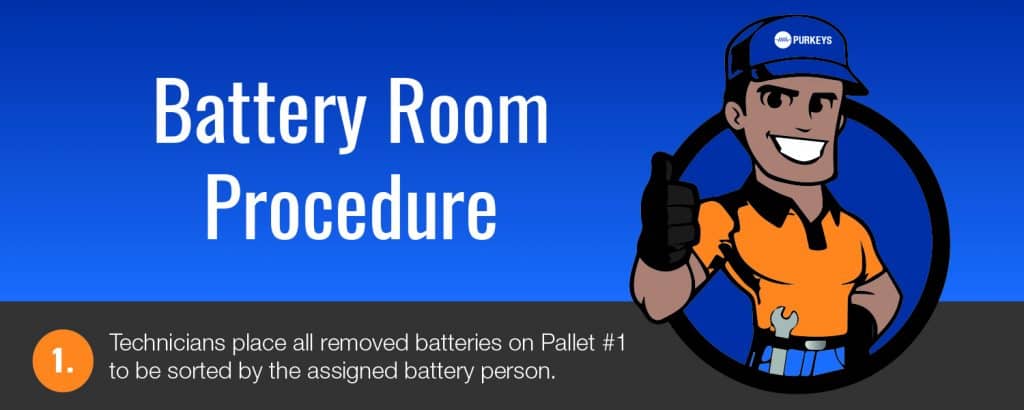
To set up the process, you will first need ONE assigned person to oversee the battery area. Have you ever heard the old saying, too many cooks ruin the stew? That can happen very easily in a battery recharge area. Have ONE person in charge of the battery process. That way, it is easy to know where each battery is in the process and not misplace batteries.
Battery Room Layout
You want your setup to have a flow to it. Batteries are heavy—you don’t want to lug them around any more than necessary. Below is an example setup of a simple rectangular room. If that doesn’t match the space you have, the important thing is that you have a dedicated space for each type of battery in the process.
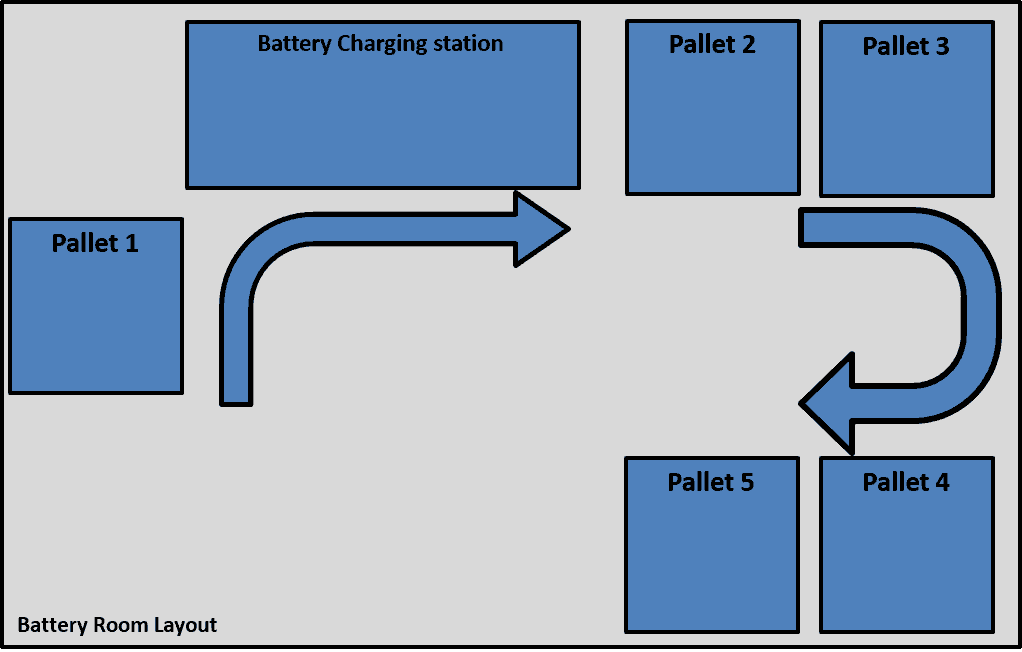
Basically, you are going to divide your area into five battery storage spaces. In our example here, each station has a designated pallet to house the batteries. If you don’t have space for that in your shop, that’s fine, just make sure you keep each pile separate.
Pallet #1:
This is where all removed batteries are placed, and the only pallet where multiple people have access. Collect all the batteries here as they come out of a truck. However, after the battery is put on the first pallet, it goes back to the one cook being in charge thing. The person in charge of the area is the only one who should move a battery away from this first pallet.
Before moving the batteries to another pallet, they will need to be inspected, cleaned, and recharged in the following process:
- Sort by:
Physical inspection
Age of battery
Manufacturer of battery
- Once inspected, clean all terminals with a battery brush and install proper lead adapters.
- Charge all batteries that pass the initial inspection.
Charging Room:
After the batteries have been sorted on pallet #1, the batteries should be load tested and assigned to the following pallets.
Pallet #2:
Battery passed the first test. Batteries should be placed here for a 24-hour hold and retested to ensure the test comes out the same.
Pallet #3:
Battery fails a load test and is under warranty. Place on pallet #3 for the warranty process.
Pallet #4:
Battery fails load test and is NOT under warranty. Place on pallet #4 as scrap to be picked up.
Pallet #5:
Good used batteries should be put together in “sets” so that they are a matched set using the below criteria to go back in a truck:
- Age (should be within 6 months of each other)
- Manufacturer
- CCA (should be within 50 CCA)
Want a sign to hang up in your battery area to remind everyone about the proper procedure? Download here!